If your organisation has enabled Multi-Factor Authentication (MFA) for your Microsoft 365 account then you may be prompted for some additional information the next time you sign in.
Depending on the settings your administrator has chosen, you may have multiple options to choose from.
How to setup MFA for your Microsoft 365 account:
You may get the prompt to provide “More information” when signing in to a Microsoft application as normal, in which case, skip to Step 4.
You can also force the setup wizard to start by logging into the web version of Outlook:
- Open a browser, go to https://outlook.office365.com/ and sign in with your work credentials
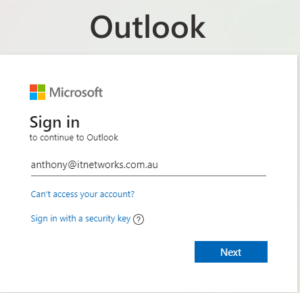
- Click on Next
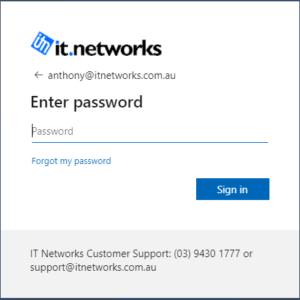
If your organisation has company branding enabled you should see your company logo and your email address - Enter your password and click “Sign in”
- You will then get a prompt for “More information required” which is were you need to provide the additional information to activate your MFA:
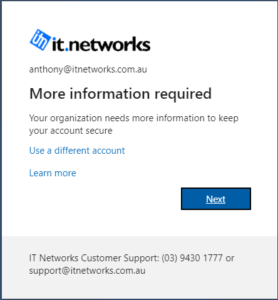
- Click on Next
- Complete the details on the “Additional security verification” window. Your options may look slightly different depending on the way your organisation has configured MFA.

- In the first drop down you we recommend you leave the default “Authentication phone”. There may also be options to authenticate via an app or with a token.
- Chose the appropriate country code for your phone number – our example is obviously for Australia. The verification call or text comes from a Microsoft number in the USA.
- Enter your contact number without the leading zero.
- Assuming you chose “Authentication phone” then you have the option to be called or sent a code via text.
- If you choose “Call me” you will receive a phone call from an automated Microsoft robot that will ask you to press “pound” (hash!) to authenticate – quick and convenient.
- If you choose “Send me a code by text message” it will do just that and you will need to enter the code after putting in your password. A little more annoying but handy if you are frequently on the phone or in a low coverage area where calls aren’t always reliable!
- If you go down the “code via text” route – make sure the number you provided is capable of receiving a text message!
- Click on Next
Depending on the choice you made, you will either get a verification phone call in which case press # when prompted and skip to step 8 or if you chose “code via text” you will get a window with a text box you need to enter the code into: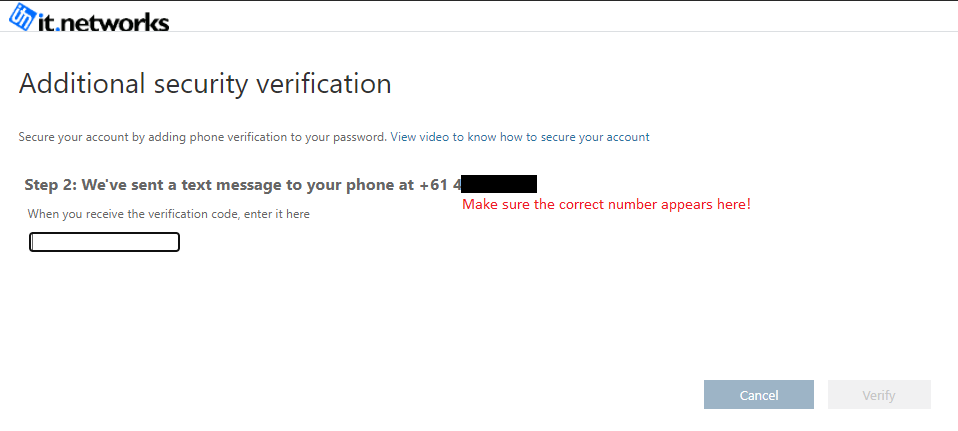
Enter the code from the text your receive and click “Verify” - Click on “Done” to finish the setup.
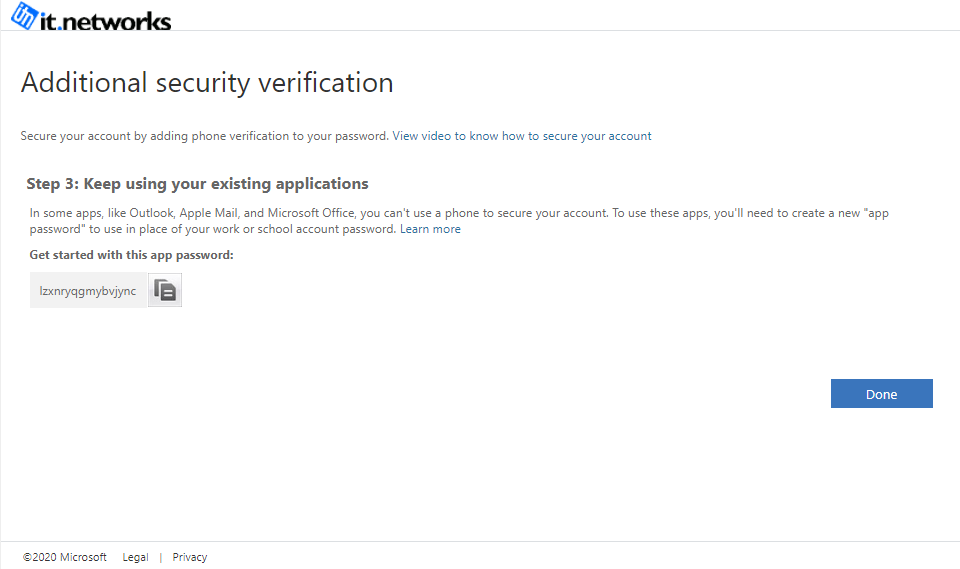
And that’s it. You will now either receive a call or text whenever you sign into an online Microsoft Application or intermittently when signing in from the desktop applications in your home or office.
If you receive a phone call or text and you are NOT currently attempting to sign in – contact your IT Support Provider and do not authorise the attempt!
A Couple of Extra Tips:
- Put the Microsoft MFA number in your contacts so the call or text comes from “Microsoft MFA” and not the international number. We’ve had people see the calls from an international number and block it – and then they can’t authenticate anymore!
- If you chose “Call me” but your phone isn’t able to receive the call in time you will be given a prompt to “Try a different way” where you can request a text instead.


